Hand stitching is foundational. Every sewer needs basic hand stitches for repairs, finishing seams, binding edges, and detail work that machines can’t reach. Six core stitches cover 90% of hand sewing work. Master these and you handle most projects confidently.
- Focus on: Why Hand Stitching Matters.
- Focus on: Setup Essentials.
- Focus on: Stitch 1: Running Stitch.
- Focus on: Stitch 2: Backstitch.
Why Hand Stitching Matters
Machines are efficient but not versatile. Hand stitching is slower, intentional, and allows precision in tight spaces. Sewing a button, attaching binding, closing a seam by hand. these skills are non-negotiable. Beginners often skip hand stitching because it feels tedious, but it’s fundamental craft knowledge that separates confident sewers from people dependent on machines.
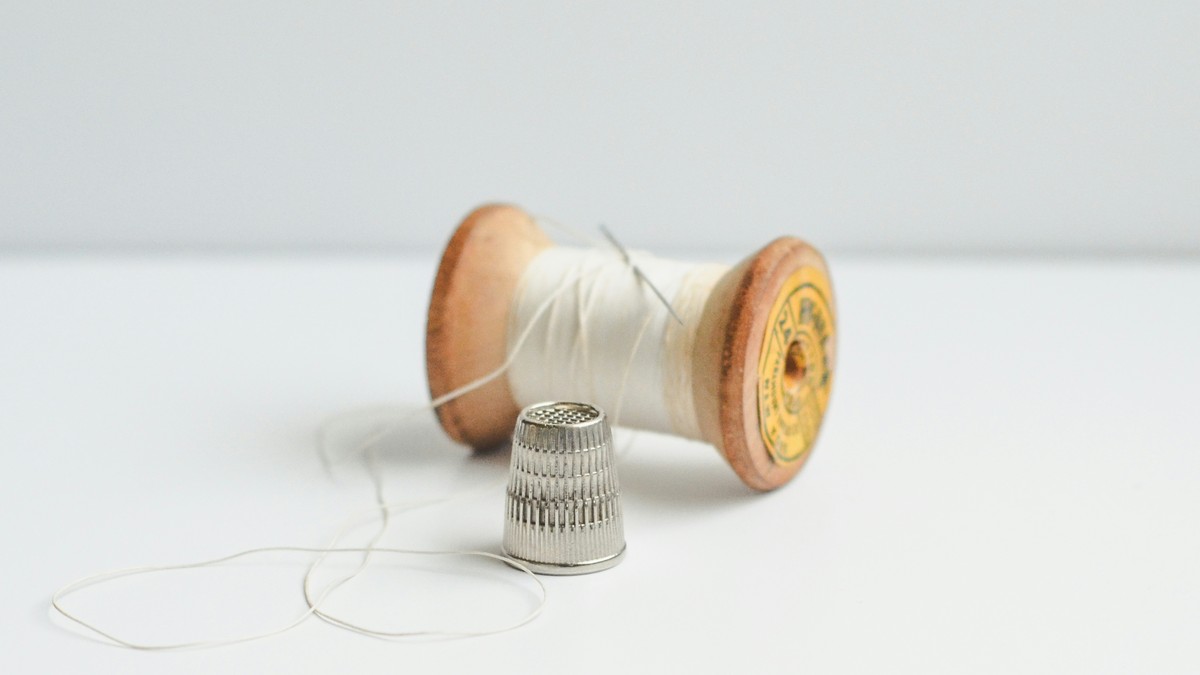
Setup Essentials
Before learning stitches: get good hand sewing needles (betweens for general work, sharps for longer stitches), quality thread (polyester or cotton), a needle threader, and a thimble. Finger pricking is common and painful; a thimble prevents it. Use 18-24 inch lengths of thread; longer threads tangle and fray. Tie a knot at the end, not both ends.
Stitch 1: Running Stitch
Purpose: Joining fabrics with a basic, durable seam. Fastest hand stitch.
Technique: Bring needle up through both fabric layers. Push needle down through both layers about 1/8 inch ahead. Bring needle back up 1/8 inch ahead. Repeat. Keep stitches small and consistent.
When to use: Mending seams, simple repairs, quilting (larger stitches work), seaming lightweight fabrics.
Strength: Moderate. Works for most repairs but not heavy load-bearing seams.
Stitch 2: Backstitch
Purpose: Strongest hand stitch. Nearly as durable as machine stitching.
Technique: Bring needle up through fabric. Push needle down, going backward about 1/8 inch. Bring needle up 1/8 inch ahead of where the thread exits. Repeat, always going backward, creating a line of overlapping stitches on top, solid line underneath.
When to use: Repairs where strength matters, seaming heavier fabrics, replacing a failed seam.
Strength: Very strong. Nearly bulletproof for seams.
Stitch 3: Whip Stitch (Ladder Stitch)
Purpose: Invisible seaming, especially for binding, appliqué, and closing openings.
Technique: Bring needle up through fold of binding or fabric edge. Slide needle inside fold for about 1/4 inch, then bring it back out. Cross over to opposite fabric, push needle in, and slide inside fold of opposite fabric for 1/4 inch. Come back out and cross over to the first fabric. Repeat, creating a hidden zigzag inside the fold.
When to use: Attaching binding invisibly, closing openings (stuffed animals, pillows), appliqué edges.
Strength: Strong and flexible, because it uses the fold itself for support.
Practice tip: This stitch is hardest to learn but creates beautiful invisible seams. Practice on scrap binding first.
Stitch 4: Blanket Stitch
Purpose: Finishing raw edges decoratively, preventing fraying.
Technique: Bring needle up from underneath at the edge. Loop thread under needle tip. Pull tight, creating a knot at the edge. Move 1/8 inch along edge and repeat.
When to use: Finishing edges on appliqué, felt projects, decorative detail, preventing fraying on raw edges.
Strength: Decorative and functional; secures and beautifies.
Stitch 5: Slip Stitch
Purpose: Invisible seaming in folded edges.
Technique: Bring needle up through fold of first fabric. Slide needle inside the fold for 1/4 inch. Push needle through to opposite side and through the fold of second fabric. Slide inside second fold for 1/4 inch. Push through and return to first fabric. Create a hidden line inside folds.
When to use: Closing seams on hems, closing openings invisibly, attaching appliqué with folded edges.
Similar to whip stitch: Slip stitch is the folded-edge version; whip stitch works on any edge.
Stitch 6: Cross Stitch
Purpose: Decorative stitching, mending (especially on knits), hand embroidery.
Technique: Bring needle up at bottom-left of a small square (roughly 1/8-1/4 inch). Stitch diagonally to top-right. Come up at top-left. Stitch diagonally to bottom-right, creating an X. Repeat across.
When to use: Decorative detail, mending knitwear (stretches with fabric), hand embroidery, visible repairs that become design features.
Flexibility: Cross stitch works on knits because the X shape accommodates fabric stretch better than straight stitches.
Practice Progression
- Master running stitch on scrap fabric first. Make 20 lines of stitches, focusing on consistency.
- Learn backstitch. Practice on heavier fabric; it requires more pressure.
- Practice whip stitch on binding scraps. This is hardest; expect frustration before competence.
- Add blanket stitch and slip stitch as you encounter projects that need them.
- Cross stitch is intuitive once others are solid.
Key Principles
Consistent stitch length: Small, uneven stitches are weaker than large, consistent stitches. Aim for consistent length, not tiny perfection.
Knot security: Always knot thread at the end. A knot that pulls through fabric is a failure. Make knots large and tight.
Tension: Tight stitches pucker; loose stitches fail. Thread should have tension. not slack. but not squeezed tight.
Needle angle: Push needle perpendicular to fabric for clean entries and exits. Angled entries split threads.
When Stitching Matters Most
Hand stitching becomes essential in: repairs that need to match existing work (replacing a seam invisibly), binding applications (where precision matters), detail work machines can’t reach, mending delicate fabrics, and any work requiring flexibility and control.
These six stitches are your foundation. Master them on scraps, then use them in real projects. Competence builds confidence, and confidence builds willingness to attempt repairs and projects that feel out of reach initially.